Besides, you can enjoy DVD movies with PSP when you are traveling on a flight, boat, or subway, etc. As you know, PSP boasts a large and comfortable screen, which provides quite a convenience for movie watching.
There are some tips you need to pay attention when you convert DVD to PSP video.
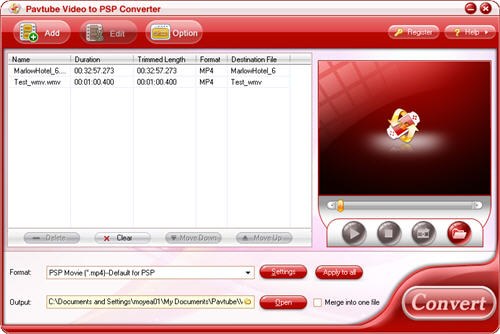
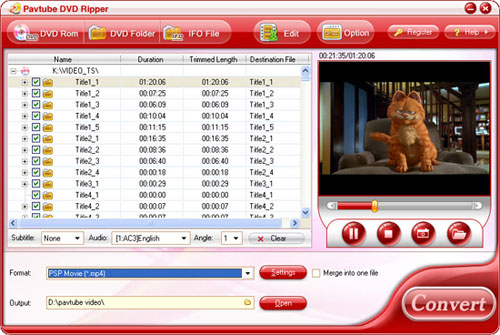
First, though PSP has a screen resolution of 480*227, actually, you can only playback video with resolution of 368*208. So you must pay attention when you are setting the resolutions and aspect ratio. Or you just cannot play the converted video at all.
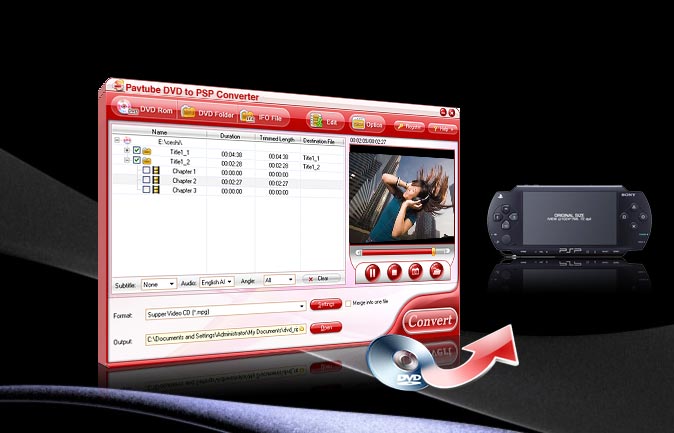
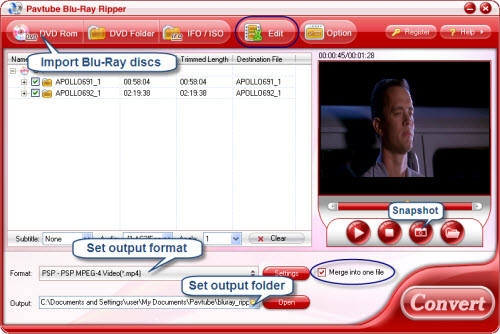
Second, choose a good DVD ripper. What, you may wonder, could be a good DVD Ripper? A good DVD Ripper should have fast DVD ripping speed while outputting video of excellent quality. Besides, a good DVD ripper should have enough profiles which will save users a lot of time and efforts on format settings, especially convenient for users who are not professionals. For the three reasons above, I recommend you to try the PCWorld Reviewed DVD Ripper. You are going to lose nothing to have a try. I bet you will get maximum satisfaction from recently updated Pavtube DVD Ripper.
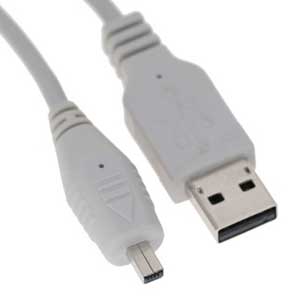
Third, when you are transferring files from your PC to PSP, you’d better try USB cable rather than card reader. Though USB Cable transferring is a little bit of slow, data will not lost or damage, By contrast, card reader is convenient and fast, but the problem is that card reader will often cause data damage or loss with frequent plug in and out.
Fourth, you better not to change the frame rate much. Though PSP support frame rate up to 30fps, I suggest you keep the frame rate untouched, and use the default frame rate of the movie. Otherwise, you may output audio/video out of sync.
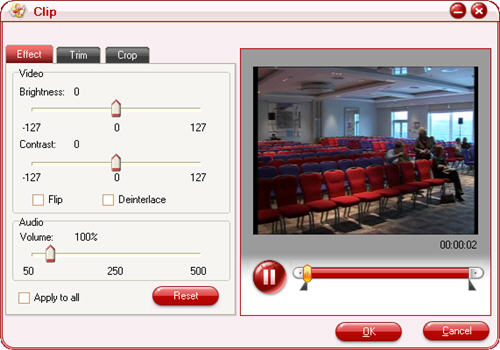
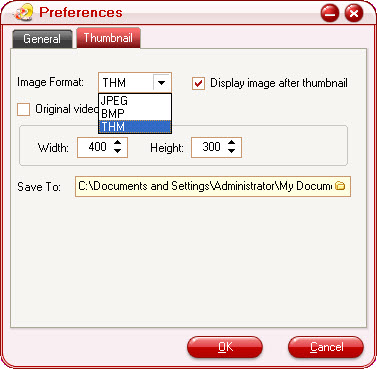
Fifth, PSP supports picture with extension of THM, if you want to capture some pictures when previewing DVD movie. You need to make sure the program supports snapshot in THM format. Pavtube provides THM format pictures and users can get THM picture of high quality with the preference setting. In addition, you can cut off the black edges if you choose.
Sixth, if you need to convert DVD to PSP only, you can choose a DVD to PSP converter instead of a DVD Ripper.