Want to find a solution to playback Blu-ray movies on your widescreen TV via WD HD Media Player? As a matter of fact, WD TV HD Media Player promises to play just about any video format you throw at it, including high definition video up to 1080p. You put the videos on any USB mass storage device, like an external hard drive or a thumb drive, and plug it into the device, WD TV HD Media Player will recognize the files on the drive and play any video, audio, or photo files it finds. However, according to the feedback provided by some users, WD TV HD Media Player does play m2ts selectively only, some are, and some are not. In purpose of solving this problem, this post will talk about how to rip Blu-ray movies to USB for playback on TV via WD TV HD Media Player.
WD TV HD Media Player supported file formats:
Video: MPEG1/2/4, WMV9, AVI (MPEG4, Xvid, AVC), H.264, MKV, MOV (MPEG4, H.264), Subtitle SRT (UTF-8)
Audio: MP3, WMA, OGG, WAV/PCM/LPCM, AAC, FLAC, Dolby Digital, AIF/AIFF, MKA Playlist PLS, M3U, WPL
Photo: JPEG, GIF, TIF/TIFF, BMP, PNG
The Blu-ray ripper we will use is called Pavtube Blu-Ray Ripper , which can rip and convert DVDs and Blu-Ray movies directly to any other formats, including HD video format. Now let’s have a look at its operation steps.
Step 1: Download, install and launch Pavtube Blu-Ray Ripper
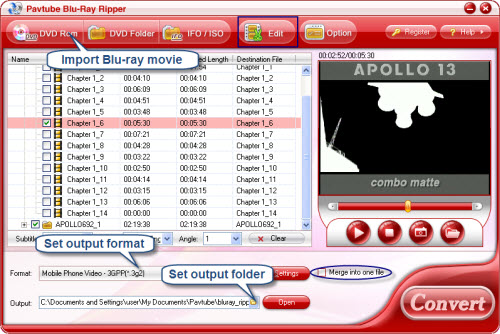
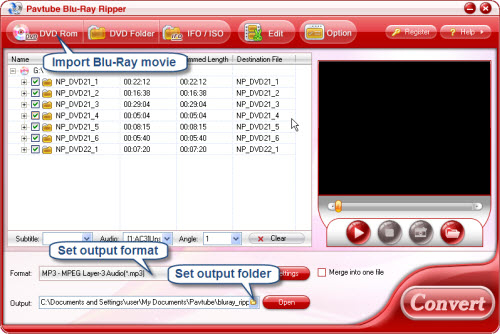
Step 2: Load Blu-ray movie, select output format and set destination folder
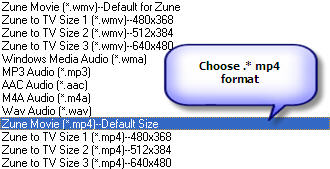
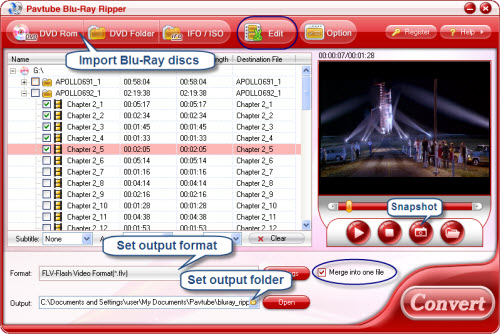
There are three ways to importing Blu-ray movie, namely by pressing “DVD Rom”, “DVD Folder”, “IFO/ISO”. As soon as Blu-ray files are loaded, now you can click the drop-down button of “Format” to select output format. In order to keep Blu-ray in high definition, here I choose “MKV HD Video” for example, so that the ripped files can be played via WD TV HD Media Player.

At the same time, you can click the folder icon at the end of “Output” to indicate save path, of course, you can skip this step, because this program offers a destination folder set by default, if you do not specify, it will export files to this folder automatically. Moreover, if you want to play your files without intervals, you can check “Merge into one file” to combine multiple chapters to be one file.

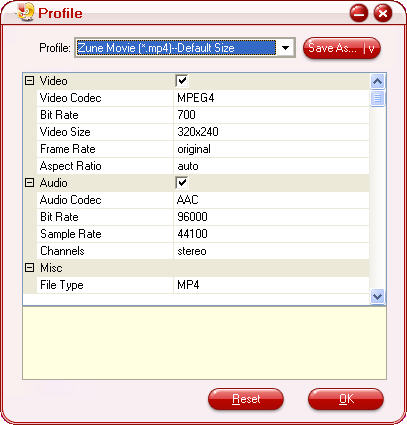
Step 3: Set advanced settings
Besides this, you can also click “Settings” to adjust video and audio parameters to ensure the output HD quality. Changing video and audio codec, adjusting aspect ratio, bit rate, frame rate, sample rate, etc. are all available here.

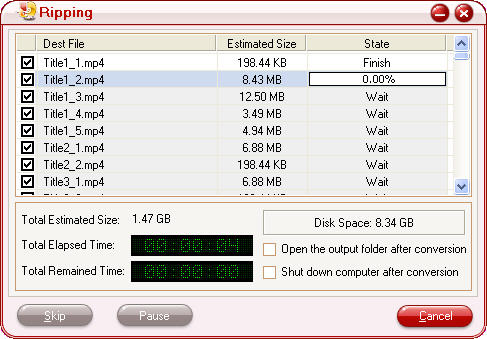
Step 4: Ripping
Once all the above settings are completed, you can click “Convert” button to start Blu-ray ripping, and the output HD MKV files can be found by clicking on the button “Open”. After that, you can copy these files to your USB, and plug in it to WD TV HD Media Player to enjoy via TV.
Tips:
According to some users’ feedback, the output files of Pavtube Blu-Ray Ripper is the only format that they can smoothly fast forward at 16x regardless of the output format.